Now's the time to take what you've learned from the steps above to develop your solution for a bus shelter.
Important! Since DiscoverDesign is about investigating the design process, the other people viewing your project - other students around the country, your teacher, and mentors - want to see how your ideas have changed over time. This means that while you're working on your digital model, you’ll want to be sure to keep re-saving it with a new file name every few days as you work through the steps.
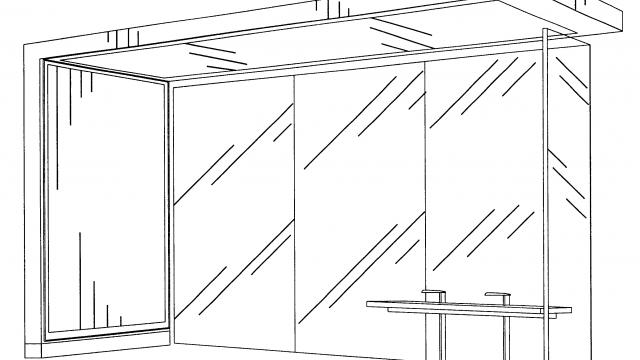
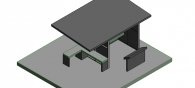
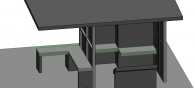
Draw a sketch or use software such as Google SketchUp, AutoCAD, or Revit to illustrate your ideas. You can upload photos (JPG files) from your SketchUp model, video fly throughs (FLV files) of your SketchUp model, or drawings (DWF files) from AutoCAD.
Try to include
- One site plan
- One floor plan
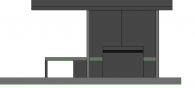
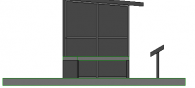
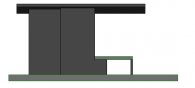
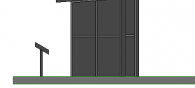
- At least two elevation or perspective views
Try This
You may use any method you'd like to show your design (pencil, colored pencil, collage, physical models, or digital rendering software). Here are a few suggestions for drawings and models of your bus shelter:
- Use cardboard or cardstock to build a rough physical study model or prototype of your shelter. You can't really understand the shape of the shelter until you make a quick study model. Don't worry about making a fancy finished model at this time. Instead, use cardstock, scissors, and tape to quickly create the large 3D form. See how it looks. Break off different sections, add new pieces, and try new ideas. Take photos of your model and upload them to this step.
- Sketch or use software such as Google SketchUp, AutoCAD, or Revit to get the ideas out of your head to share with others.