Overview Instructions

Show Hide

The problem is to design a food stand that will be placed somewhere around High Point Regional High School. This food stand should include many important aspects. The items sold at this food stand should be healthy. Also, the size of the food stand should be 10'x4'x12'. There should be a display area for the food so that is easy for the customers to see, and there should be some way to lock up the food stand at night. All of these important points will make the food stand beneficial to the students and staff at High Point.

Comments

It should be light weight and should have small chairs and cabinets to accommodate customers and staff. - Mint Springs Farm

Collect Instructions

Show Hide

Gather more information about your existing school by taking photos, sketching, conducting interviews, or doing additional research.

Think About

  • Which location or entrance around your school campus receives the most student foot traffic? 
  • What types of healthy food options are currently available to students?
  • What types of food do you think the new stand needs to accommodate?

Try This

  • Use Google Maps to view and print out an aerial photograph of your school.  Mark the different entrances to your school building on the aerial photograph.  Does your school have separate entrances for students and staff members?
  • Interview the school nurse, a health teacher, or the head cook and ask them their opinions about the types of healthy food currently available at school.  What improvements could be made with a new food stand?
  • Interview several classmates about where they think would be a good location for a new food stand.
  • Walk around the exterior of your school and take photos of possible locations for the new food stand.
  • Research other food vendor stands or carts.  Or search Flickr for "food cart", "street vendor", or "fruit kiosk" images.

mdavies7's work for the Collect Information step:

Summary
I started collecting my information by elaborating on my first idea, which was to have a fruit stand called Fruit Cups.
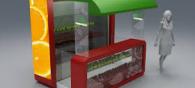
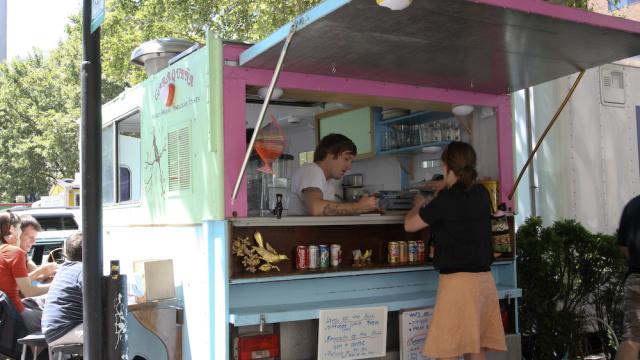
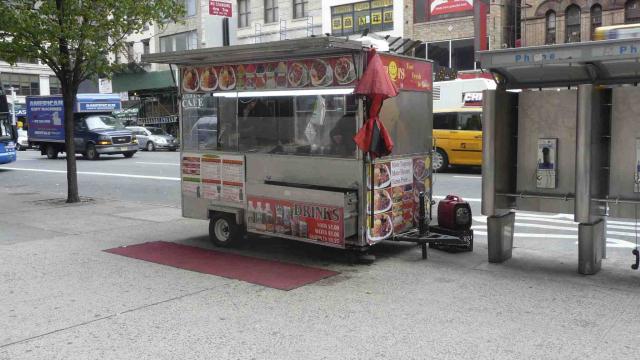
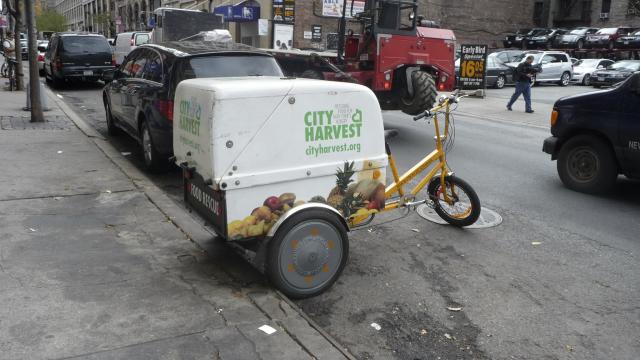
I started collecting information by looking up pictures of ideas for food stands. I found this...
This is a chart I found showing the top healthiest fruits. This chart will help me choose which...
I found this picture and I liked many different aspects about it. The thing that stands out the...
This is a map of the school and the orange dots represent where I think my food stand should go.
This picture gives a general idea of what fruit cups are and what they look like.
Both pictures show two places where I think my food stand should go. The two places are in the...
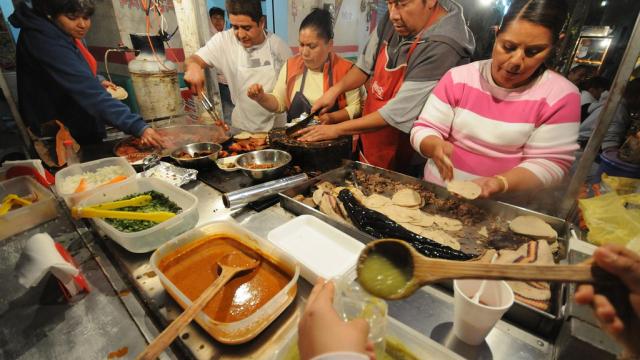
These three pictures demonstrate how I would want to display my food. In the first picture I like...

Brainstorm Instructions

Show Hide

Develop sketches or models to help you puzzle through new ideas and solutions.

The food stand or cart will need the following types of features

  • signage
  • a place to display food
  • a place for money to be stored securely
  • a place for some types of food to be refrigerated
  • a place for some types of food to be kept warm
  • additional storage space
  • a method for getting electrical power to the cart or stand
  • a method for either moving the cart from one location to another at night, and / or a method for securing and storing its contents when the stand is closed

Try This

  • Identify a location for your new food stand or cart.  Mark this on the aerial photograph.  Will it be located at an entrance near your school's cafeteria, or will it be near a main entrance?  You decide.  
  • Consider the path of the sun around your school building.  You may want to consider how the vendor operating the food stand (and the food they are selling) might be protected from the sun on a hot day.   
  • Using a tape measure and some masking tape, mark out the maximize size for the stand (12 feet long x 4 feet wide) on the floor of your classroom.  Mark the maximum height of the stand (10 feet high) in masking tape along the wall of your classroom.  This full-scale outline will help you understand the size of the object you are trying to design.
  • Make lots of sketches to get your early ideas down on paper.  Learn from each different idea. 
  • Brainstorm a list of special features you’d like the food stand to have. 
  • Consider what materials the stand will be made from.  What materials will be durable against the weather?

mdavies7's work for the Brainstorm Ideas step:

Summary
I started brainstorming by making a few quick sketches of how I wanted to display the fruit and what I wanted the stand to look like.
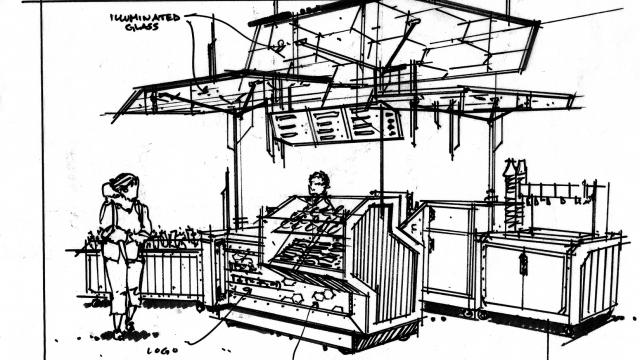
This sketch is my final sketch of how I want my food stand to look. There is display on the sides,...
These two pictures focus on how I would want the fruit to be displayed.
This last rough sketch has some characteristics of both the previous sketches. This sketch was the...
This is a side view of my food stand. This sketch mainly focuses on the side displays. Also, there...
This is a diagram of the front of High Point Regional High School. I drew where exactly the food...

Develop Instructions

Show Hide

Now's the time to take what you've learned from the steps above and develop your own solution for a new food stand or cart.

Try This

  • If possible, use cardboard or cardstock to build a rough physical study model or prototype of your food stand. You can't really understand the stand's shape until you make a quick study model. Don't worry about making a fancy finished model at this time. Instead, use cardstock, scissors, and tape to quickly create the large 3D form. See how it looks. Break off different sections, add new pieces, and try new ideas. Take photos of your model.
  • Sketch or use software such as Google SketchUp, AutoCAD, or Revit to put your ideas on paper.

mdavies7's work for the Develop Solutions step:

Summary
I began Developing Solutions by working in Revit. I developed a wall type and set the basic rectangular shape of the food stand.
This is a final overview of my final design
This is a floor plan view of the food stand
This is a front view of the food stand.
South Elevation of food stand
Side (east) elevation view

Final Instructions

Show Hide

Congratulations on developing a final design! Use this step to upload the best drawings, screen captures, photos, etc. of your design. You want to be sure to pick images that show interesting details and help your viewer understand the space. 

For example, make sure you have a few images that help us understand things like where your foodcart is located around the school and what it looks like from the customer's and the sales person's perspective.

Don't forget to get feedback from others in your class or on DiscoverDesign, and teachers and mentors. Feedback is an important step of the design process to help you create the best design for the challenge.

Keep designing!


mdavies7's work for the Final Design step:

Summary
For my final design, all that needed to be completed was final details. I wanted to have display in the back and on the sides, so I added that.
These two views are the South View and the East View
This is my final floor plan view. All of the arrows indicate important aspects of the project that...
This is one of my main renderings. It shows the front view of the fruit stand.
This is a side render of my fruit stand.
This is another side render of my food stand. This render shows a glimpse of what is on the inside...
This is my final Revit Project at the front view.

Earn Skill Badges

Recent Activity

Twitter Feed